Quick chia berry jam is perfect for women like me who have a lot of big ideas, but not enough time to get to them all. Classic canning falls in the ‘maybe someday’ category. But easier and healthier berry jam is totally my jam. No more loads of refined sugar, no more messy kitchens, and definitely no more of those long hours spent in the kitchen. Plus it is vegan, gluten-free, refined-sugar free, and keto.
 Why chia seeds?
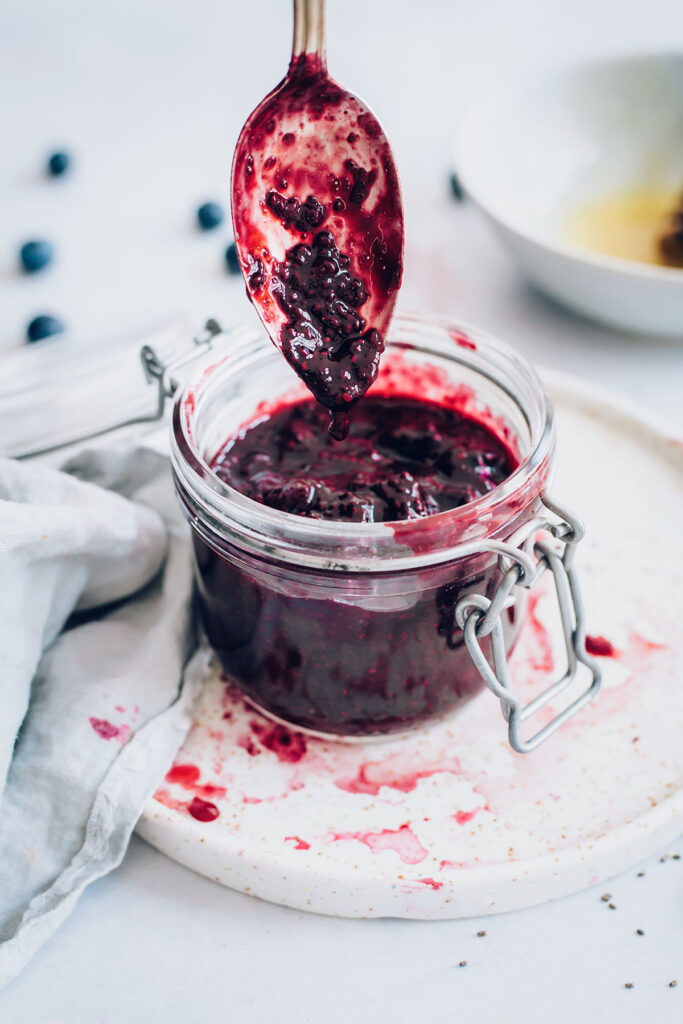
The tiny chia seeds are packed with soluble fiber which turns into a jelly when combined with liquid. They actually absorb the liquid and thicken the jam, without the help of preservatives, gelatin, or pectin. Moreover, they are packed with protein, minerals, and healthy fats, making them a great addition to the daily diet.
A couple of years ago it was chia pudding that got all the attention on social media. Now it’s time for chia berry jam, a more upscale way to eat chia seeds, with its versatility and longer shelf life than the pudding version.
 How to make jam with chia seeds
What would you say if we told you this chia berry jam takes only 20 minutes from ingredients to jar? It is actually true. It’s so easy to make chia berry jam from fresh or frozen berries, and you literally don’t need any kitchen skills.
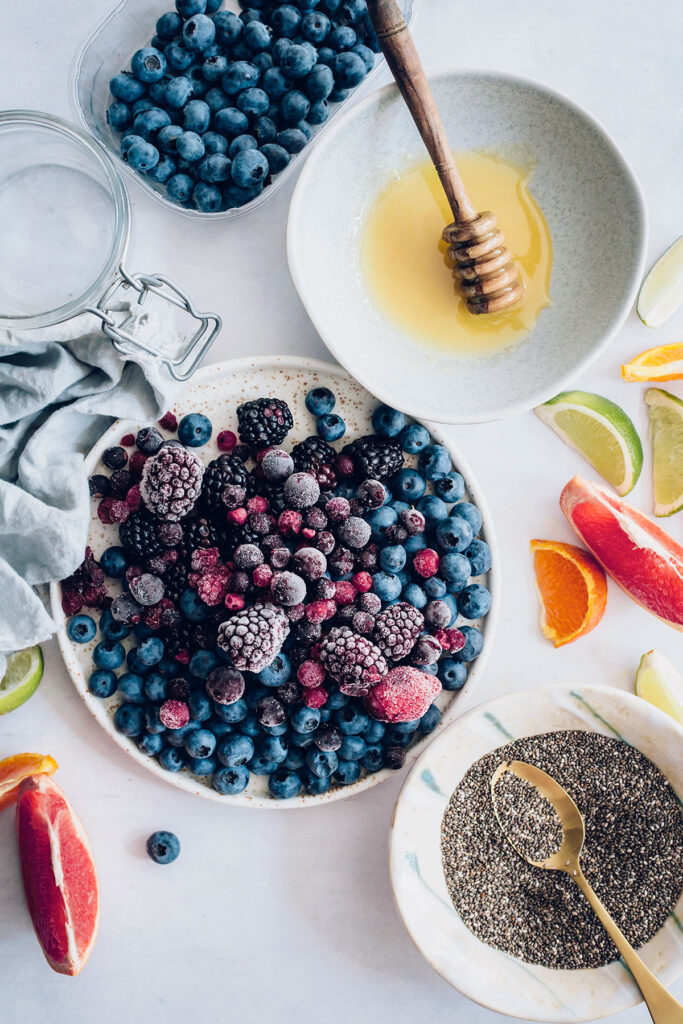
To make this easy chia jam you will only need your favorite berries mix (any will work), chia seeds, citrus juice and (optional) your usual sweetener. If you are on a ketogenic diet, you can replace the honey with erythritol or simply skip the sweetener and enjoy the natural sugars from the fruits and juice.
We like to make our jam thicker, so we usually use a ration of 3 tablespoons chia seeds for two cups of fruit, but you can use only 2 tablespoons of seeds if you like your jam more fluid.
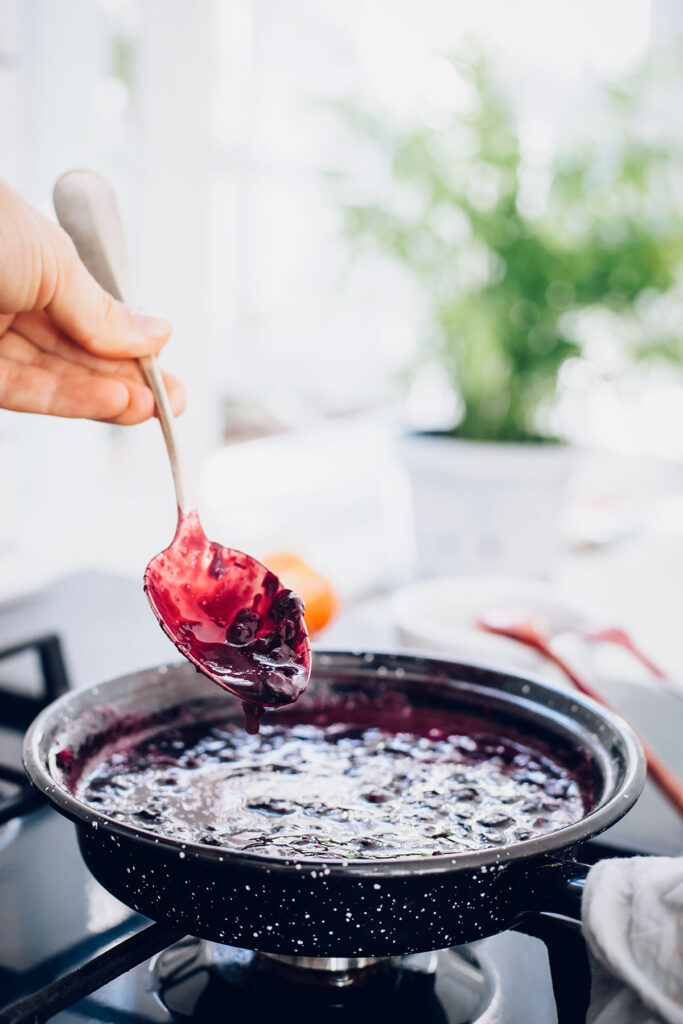 Step 1 Cook the berries into a pan over medium heat, until simmering. Reduce the heat to low, and simmer for 10 minutes, until the fruits break down and you get a homogeneous reddish color. Remove from the heat and use the back of a fork to mash all the fruits that are still entire.
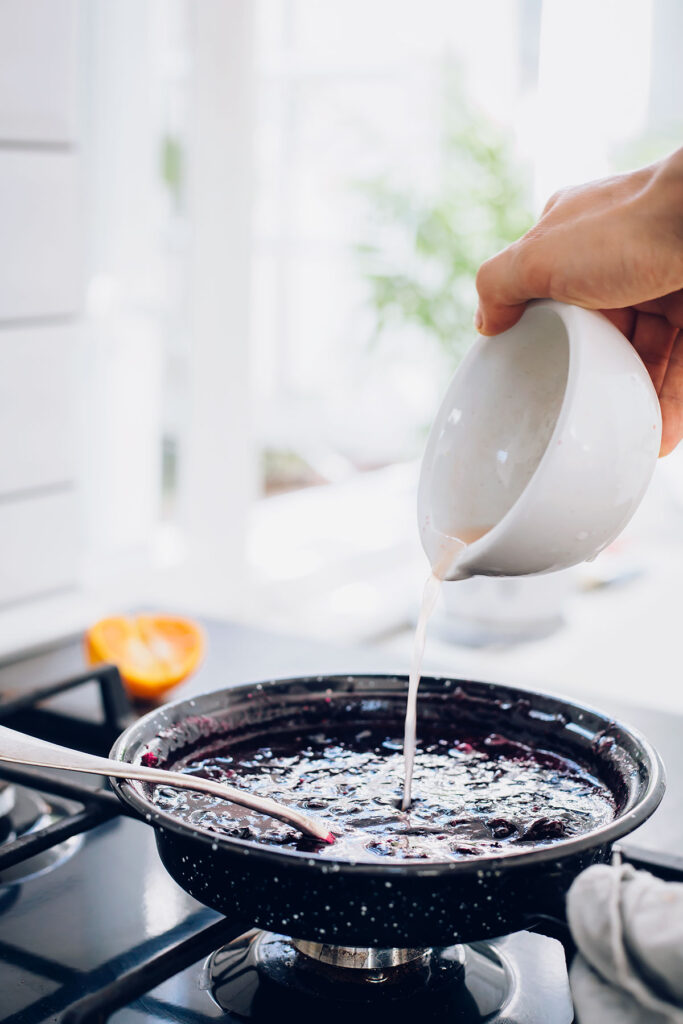 Step 2 Add the citrus juice (you can use freshly squeezed lemon juice, or make a tangy combination from any citrus fruits you have available) and mix to combine. The citrus juice will balance the sweet taste of the fruits and also act as a preservative.
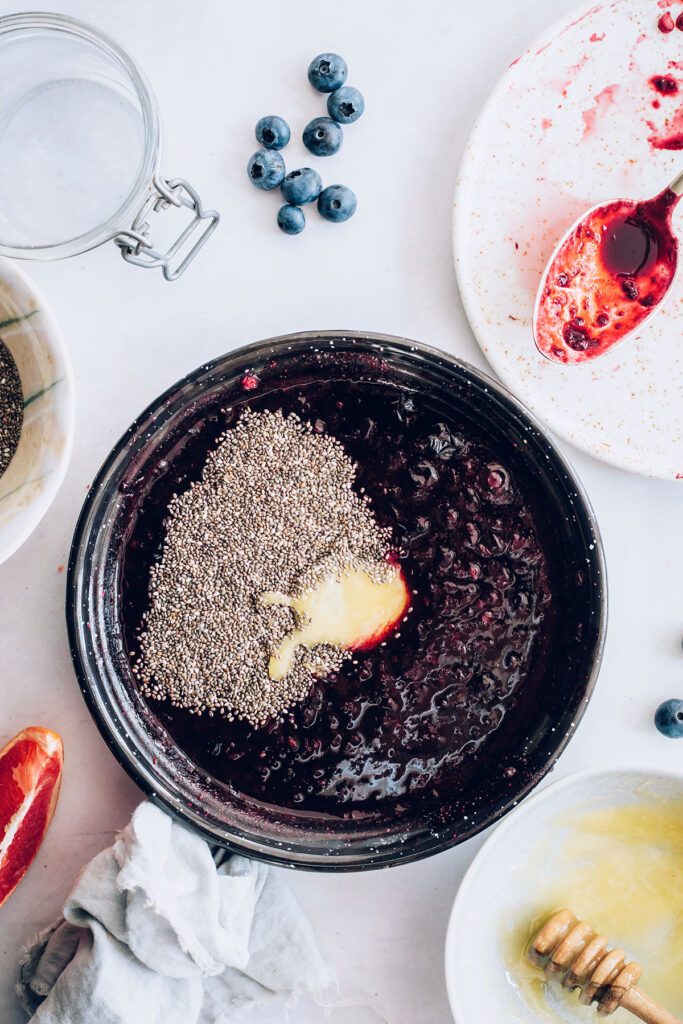 Step 3 Add the chia seeds and sweetener (for the vegan version use maple syrup instead of honey, and skip the sweetener if you’re on a keto diet), and mix to combine.
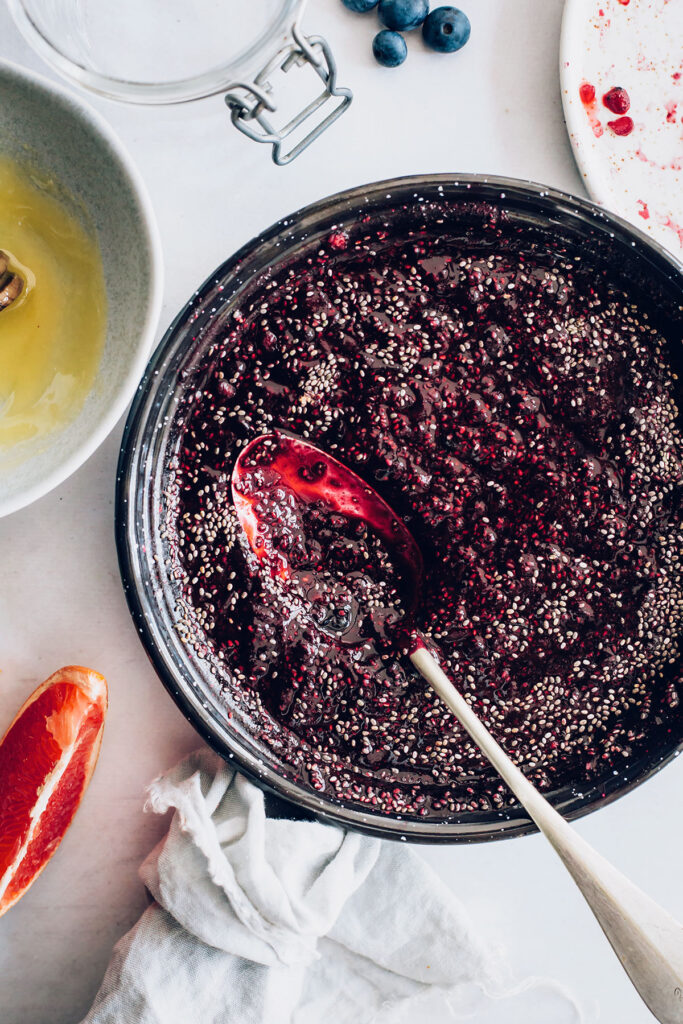 Step 4 Set aside the pan and leave the chia seeds to make their magic and thicken the jam.
Step 5 Transfer the jam into jars with lids and store in the refrigerator
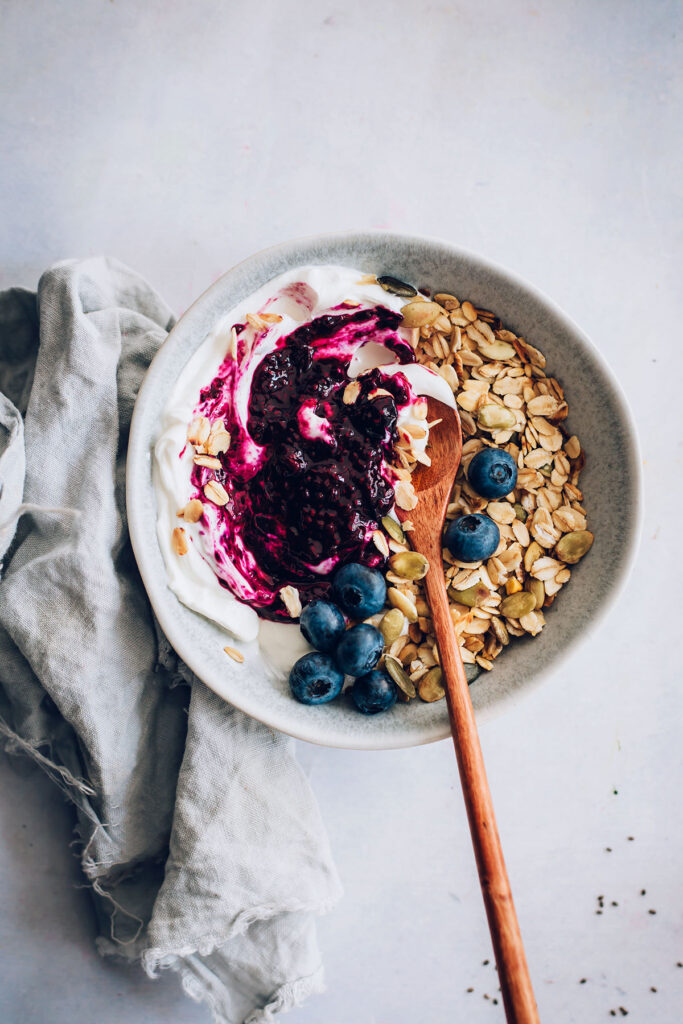 Step 6 Use it for topping your granola bowls, over yogurt, for pancakes, on your peanut butter toasts or as it is.
How long will chia berry jam last?
If preserved in a lidded jar or airtight container in the refrigerator, the chia berry jam will last up to 2 weeks. Remember this is not your usual jam, but a more natural one, so its shelf life is shorter than a refined-sugar jam made with gelatin or preservatives. You can also freeze the jam for later use, for up to 3 months.
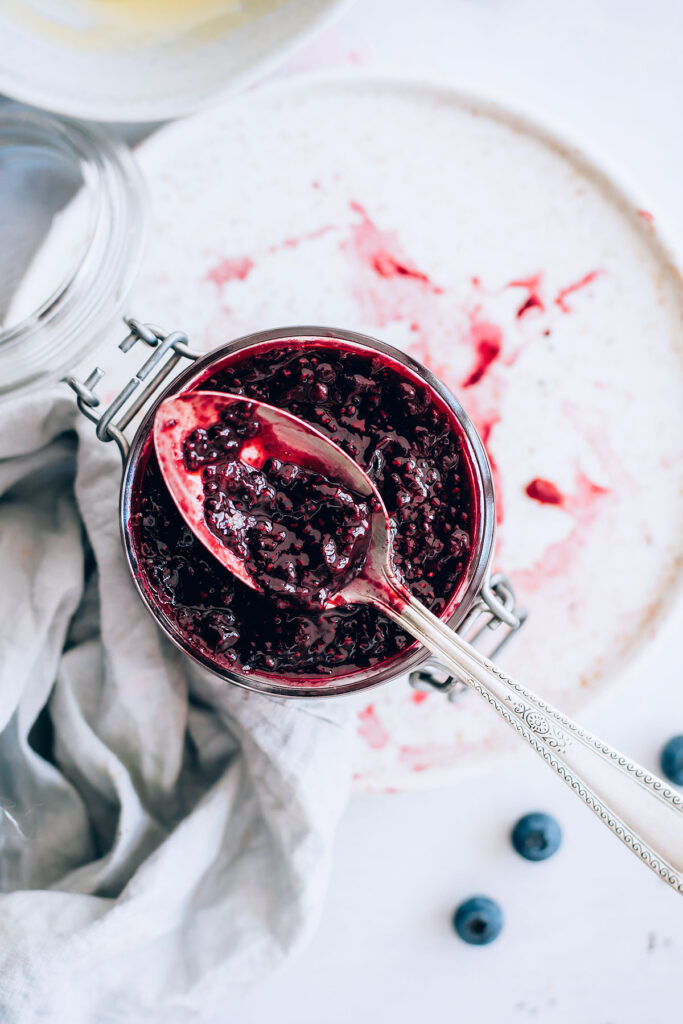 How to use chia berry jam
Our favorite way of using the chia jam is to top our granola yogurt bowls. You can also use it on top of pancakes, peanut butter toast, yogurt, or cream cheese.

How To Make Easy Chia Berry Jam
Ingredients
- 2 cups of your favourite berries fresh or frozen (any will work)
- 3 tablespoons chia seeds
- 2 tablespoons fresh citrus juice lemon, grapefruit, lime, tangerine
- 1 tbsp honey or pure maple syrup for the vegan alternative (simply skip the sweetener if on a keto diet, or replace with erythritol).
Instructions
-
Add the berries into a pan and set over medium heat, until boiling.
-
Simmer for 10 minutes over low heat, until the fruits break down.
-
Add the citrus juice and mix to combine.
-
Turn off the heat and use the back of a fork to mash the fruits.
-
Add the chia seeds and honey, mix to combine and set aside for 5 minutes to thicken.
-
Transfer into lidded jars and store in the refrigerator.